TRV Homepage | Walkthrough Home | Forums | Awards | Products
Copyright notice: If you want to copy this walkthrough for your own site, please ask permission BEFORE you do so and place the following code on your site at the top of each walkthrough page:
You're looking for four artifacts on four bridges that all need to be dropped via a series of dangerous tasks. The end of this level is in the same area as the beginning of the previous level. The artifacts you found will be used on the obelisk in that area, which will open the level exit.
Turn right, descend the stairs then climb up to the doorway on the left. Jump down the other side and follow the passage as far as you can. There's a door on the left that you can't open, so enter the one on the right to find a room with four movable blocks and a golden door up above. Take a look through the windows and you'll see a tall column. At the top of this column are the four bridges you need to lower to reach the artefacts.
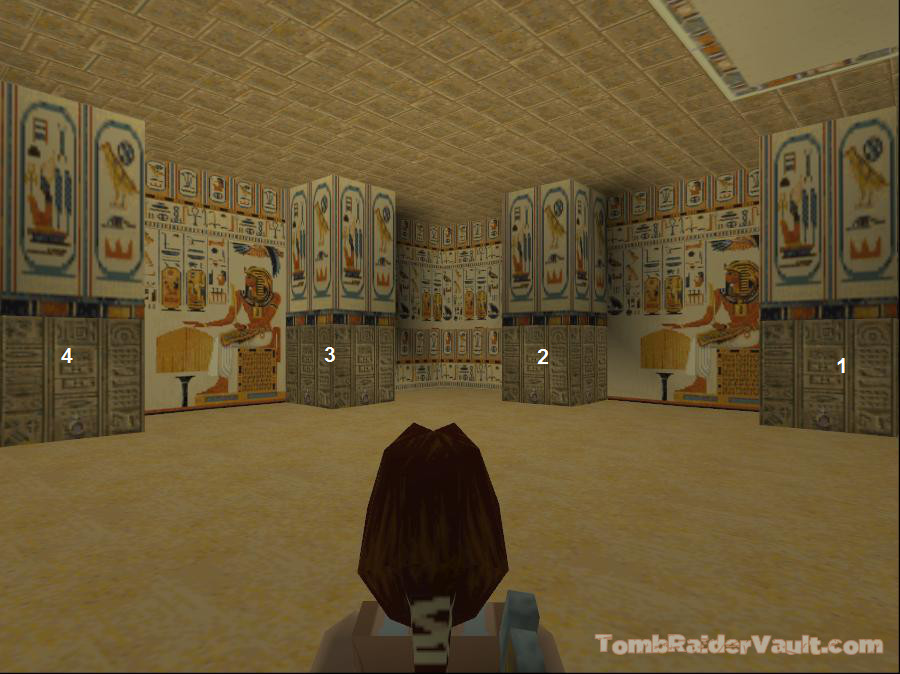
Okay, in the room you are in now, there's only one block you really need to move, but there are kills and pick-ups behind the rest, so it's up to you if you want to do them or not! If not, just miss out the first three blocks and go straight to the fourth! (Screenshot)
Block #1: The first block is opposite the room entrance. Pull out the block two or three times, enter the passage, roll and run back to the block, jump up it and draw pistols for another black panther! Up the passageway from where it emerged, you'll find a small medipack. Once you've retrieved this, move the block under the golden door above.
Block #2: This has a panther behind it, but no goodies, but if you want the kill, do this in the same way as the first one.
Block #3: Move this and enter the passageway beyond. There's an opening in the floor that leads to another room below with another panther. Drop and grab the ledge to draw it out, then climb back up and kill it from there, with your pistols to save ammo. Drop down, slide down the angled block and pull the lever to open the door above. Ascend the stairs, climb the block, pick up a small medipack then pull up to the ledge above. Climb up to the highest block, run and jump to the doorway ahead and pick up the Magnum clips from behind the open door by jumping over the gap in the floor. Drop down into the opening to find yourself back in the main room.
Block #4: Move this to find a small passage with an opening filled with water. Jump in and swim as far as you can, climbing out quickly as soon as possible as there's a croc on your tail! Kill the croc from one of the ledges. Jump in again and find some Magnum clips and a small medipack on the bottom of the pool. You'll also find a sapphire key and a save crystal among the ledges...save your game and return the way you came.
Make your way back until you come to the keyhole you passed at the beginning, and use the sapphire key to open the door to the room with the tall column with the four brides. You'll now find that the high, golden door in the room with the four blocks is open, so, if you've not already done so, pull one of the movable blocks in the room under the doorway to climb up and go through, using the save crystal you find there. In the next room you'll find another mummy...run past it, roll and get out whatever weapons you like and kill it before it kills you, pausing for medipacks when needed! Lara takes a lot of damage from these things, so keep moving!
Find the lever in the left-hand window to lower the first bridge to allow access to the Eye of Horus, the first artefact. Go now through the right-hand window to retrieve it, and you'll see a clip of an underwater door somewhere below. At the bottom of the pool of water, there's some Magnum clips...jump into the water and swim down to retrieve them then climb out onto the ledge around the column to find some shotgun shells.
Look around to see the door you opened from above...opposite this are some alcoves. Go to the right-hand one to find a doorway (screenshot). Enter and slide down the ramp. Before you drop down into the next room, pick off the two panthers that are prowling about, using your pistols to save ammo. Once they're dead, jump down and climb the stairs. From the top step, jump up to grab the ledge above. Take a running jump to the next pillar. Turn around and run, jump and grab to the next ledge. Walk forward and pull up onto the ledge above that one, then run and jump across the next three to land on the platform above the doorway. Drop down and pick up the large medipack.
Now, unless your are suicidal or completely mad...DO NOT GO DOWN INTO THE ROOM BELOW!!! All that's down there are two mummies waiting to take a piece of you, but if you really want all the kills, hang and drop from the doorway, pull back up and pick them off from where you are, or just slide down the ramp, roll and jump into one of the alcoves behind the ramp to finish them off in relative safety!
Climb up into the right alcove facing the large room (screenshot) and jump over to the ledge on the right.. Run, jump and grab over to the next ledge, pull up onto the block, then run, jump and grab to the next one. Pull up onto the ledge above and turn around. Run and jump over to the ledge that was behind you as you climbed up, then pull up onto the grey block. Run and jump over to the one to the diagonal right. Run, jump and grab the block to the right of the stairs and pull up, save your game. Do all of this very carefully...believe me, you do not want to end up falling down into the mummy room if you didn't kill them earlier! Walk down one step then pull up onto the next ledge. Now a mummy at the top of the stairs awakens! Jump back to the steps and kill it from there, or pull out your shotgun and three blasts should do it!
To the left of the stairs, at the bottom, there's a ledge covered with ivy. Pull the lever you find there to lower the second bridge to access the Ankh..the second artefact. Turn left, step down, drop down onto the ledge with the fence. Pick up the small medipack and two sets of Magnum clips (or one set and the Magnum if you don't already have it), then climb back up near the lever. Climb to the top of the stairs and you'll come to another door which you can't open yet, and an opening in the floor. Drop through, slide down the ramp and draw weapons! The two openings ahead are connected, and there's a panther hiding, so advance carefully and back out shooting as it emerges! There are some more Magnum clips in the passage where it came from.
Come out and find the switch in the right-hand alcove. This changes the bottom slope into steps. Go up four of them and jump across to the ledge on the left. Retrieve the shotgun shells and jump back, climb two more steps and drop down to the ledge below to use the save crystal. Go through the doorway and find yourself on a ledge in the room with the column and the four bridges. Climb the stairs to your right, retrieving the large medipack on the way up, and pull the lever at the top. This changes the next slope into steps, but you have something to do before you go back there.
Jump down onto the ledge below the switch and go through the door. Turn left, climb the stairs, and climb down the blocks to the room below. There are two more mummies in there and you need to get rid of them, so just drop to the floor from the last block, them immediately pull yourself back up and get them from there! Once that's done, climb back up the blocks, jump to grab the right-hand ledge and shimmy right and pull up. Climb up to the ledge and go behind the pillar where you'll find a room containing the first secret, a large medipack and some Magnum clips. Exit towards the other side of the pillar and run and jump over the next three ledges to find more shotgun shells at the end of the last, long one.
Make your way back to the gap across the first two ledges, turn around and then drop and grab to the next two ledges, ignoring the open doorway on the way down. Drop and grab from the second one, then shimmy right until you reach the corner. Drop, turn, drop and grab again, shimmying right to the next corner. Drop, turn and run, jump and grab the block to the right of the doorway (the one with the save crystal), pull up and go through. Here you'll find yourself on another ledge with a fence over the room with the four bridges. Pull the lever to lower the third bridge to provide access to the Scarab, the third artefact. Use the save crystal and return back through the doorway.
Run and jump over to the corner ledge to the opposite-right of the doorway, and drop down to the room with the sarcophagus. This is where you killed the last two mummies, and I'll bet you're now glad you did! :-) Go to the other side, climb up the blocks and exit the same way you entered.
Now you can cross the bridge to pick up the Scarab, and jump across two bridges to retrieve the Ankh. Walk across the bridge you are now on, turn left and go to the end of the ledge with the missing part of the fence fence. Jump over and you'll re-enter the room with the slopes that have now turned to steps. Climb the block-type steps, turn right and run, jump and grab the crevice, shimmying right to drop down onto the golden blocks below. Go round the other side, drop down and pull another lever in the room beyond. This turns yet another slope into steps. At the top of those steps is a room with another mummy, so be ready with your weapon of choice.
Climb into the room, pick up the small medipack behind the ornament in the open area, and pull the two levers. One lowers the final bridge leading to the Seal of Anubis, the fourth artefact, and the other opens the golden door. Use the save crystal and go through the golden door to get to the room at the top of the stairs.
Walk down the stairs back to the ivy-covered ledge and walk past the three pillars to see a block sticking out towards the obelisk. Run and jump over to it, but don't grab! The camera angle goes a bit weird here, but it's okay as long as you line the jump up properly. This is the second secret, a small medipack and Uzi clips. Now, you are going to have to do a running jump down to the pillar below, with the silver ornament on it. Make sure you have enough health as you'll take some damage, but this is the third secret, so go for it to find a large medipack and two sets of Uzi clips.
Drop down onto the walkway in front of the bridge leading to the Eye of Horus artefact. Jump over the bridges to the far side to get the Seal of Anubis, and now you'll see a clip of the underwater door opening! Jump into the water and swim through the door. On the left, in the second alcove, you'll find a set of Magnum clips. Get those and resurface for air if you need to. Swim down again and forward to the third set of alcoves. Here you'll find shotgun shells and a small medipack. Continue forward, past the alcoves and turning right at the end, swimming forward until you can surface within a pool that has more goodies at the bottom of it: a small medipack, shotgun shells and some Magnum clips.
There's another mummy in this area, and you can either climb out and use your shotgun, or lure it to the side of the room opposite the climbable ledge near the doorway. To do this, stay in the pool and when the mummy comes toward you, swim under the water and emerge near the doorway, climbing the ledge and shooting it from safety. When it's gone, pick up the 2 sets of Magnum clips from the climbable ledge, use the save crystal and go through the doorway. Follow the passage, past the statue room to another room. Kill the mummy below from where you are before dropping down and picking up the large medipack on a block at the other side of the room and climbing up to the small, ivy-covered doorway set up in the wall opposite the entrance door. Go through it and find yourself back at the beginning of the previous level. Climb down, go to the little room between the paws of the sphinx to retrieve some magically appearing shotgun shells! (Has someone else been here???)
Place all of the artefacts you picked up from the four bridges and place them in the pillar, that has a place for each one. This will open the level exit door at the opposite side of the area. Go through it to end the level.
If you missed anything while playing the PC version,here is the savegame file with all kills, pickups and secrets.
{ Previous Level } { Next Level }
Send us feedback about this wakthrough